This post was not sponsored or affiliated with LOL Surprise! All images and logos used with permission.
Since I bake cakes, my daughter has learned that she can make any request, and I'll try to fulfill it if I can. Consequently, she can be very specific about what she wants for her birthday cakes. This year, she told me she wants a chocolate funfetti checkerboard cake. What topic? Her favorite things of all time: LOL Surprise dolls.
To make a checkerboard cake, you have to have at least 3 layers, 4 is better, so to avoid making the cake really really tall, I cut each layer in half to make it half the height I normally would. With all those layers, I decided to make Swiss meringue buttercream to fill it with instead of American buttercream to keep it from being too sweet and just make it more pleasant to eat.
In case you don't know how to make a checkerboard cake, you measure your round cake and divide it by 3. This will be the diameter of your smallest circle in the middle. For the diameter of the middle one, multiply the diameter of the smallest by 2. Then center both of them as well as you can and cut them out of your cake layers. Then alternate the colors on your cake.
I had a lot of trouble with that last funfetti layer. It just wanted to fall apart. If that happens to you, just humpty-dumpty it as best you can and add some extra buttercream if you need to to help it stay together.
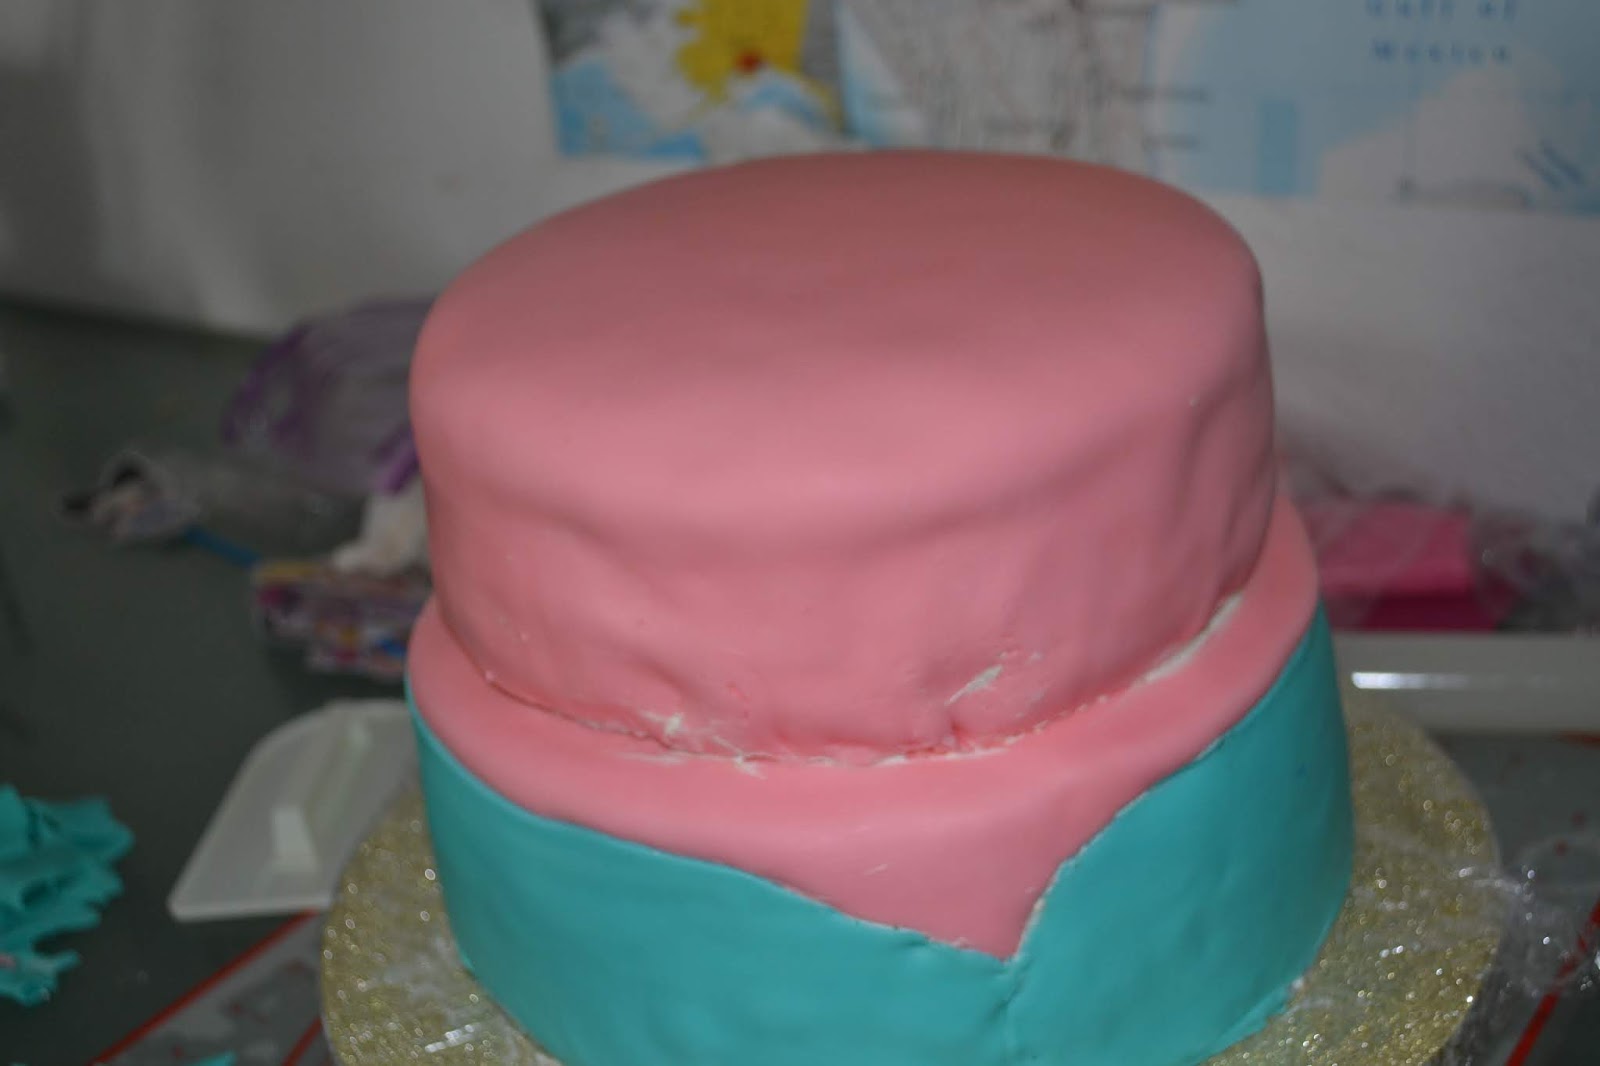
Then I crumb coated and iced the layers as best as I could. I had a little trouble with my smaller layer because my cake board was just a touch too small and in order to pick it up, I kept making major fingerprints in the frosting. It was really messy.
Then I covered the top layer with pink fondant.
The bottom layer I covered the top with pink, cut it with a V on one side, and covered the sides with teal fondant. Then I used wooden skewers to dowel the lower tier and put the smaller tier on top of it.
At this point, I actually thought I had ruined the cake and it wasn't ever going to look good. The problem with the top tier cake board being too small and the buttercream being just a bit thin, it was really messy. Even covering the tier with fondant didn't stop the mess. I really just wanted to cry at this point.
I decided I absolutely had to do something about the seams before I did anything else. I just couldn't look at it any more. I decided to use my clay extruder. I used the left over pink fondant and added more pink food coloring and a drop of red to make it a deeper pink and extruded a thick cord to go between the tiers.
Then I extruded a thin strip to act as the zipper between the teal and pink on the bottom tier.
Then I added the extruded pieces of fondant to the cake. But I still had that ugly torn spot on the top tier.
Then inspiration struck. I decided that this cake absolutely needed the LOL Surprise logo. I used some block alphabet cutters I had to cut out LOL. Then I used a fondant press form to form the letters for Surprise. I put them both on a dark pink background and trimmed it to be like a shadow. Then I extruded a few thin black fondant cords.
I carefully placed the cords around the LOL and cut pieces of them to make the polka dots on the LOL. Then I placed the whole thing right over the ugly spot on the cake.
At this point, I finally started liking it. I used the dark pink to form a square-ish piece to go as the zipper and a tear drop shape to act as the zipper pull.
I used a large, round piping tip to cut out white dots and placed them on the teal part of the cake. Then I rolled a thin log and used it to cover the bottom of the bottom tier. Now I'm really starting to like it.
I rolled out some more dark pink and cut it into 1 cm strips. With the aid of a ruler, I placed them on the sides of the top tier.
Then I used a tap-it letter cutter in a whimsical pattern to cut out my daughter's name and age for the top and placed the letters on the cake using edible glue.
The final step was to place the LOL doll cut outs I had printed on card stock and taped to lollipop sticks. I also placed a handful of large, colorful lollipops behind the dolls to add a bit more color and fun.
Despite my fears and frustrations, the cake turned out lovely and I am very pleased with the result.
But most importantly, my daughter loves it, too. She said it's exactly how she wanted it.
Happy Birthday, Sabrina!
A view of the inside.
See the whole process on our new YouTube channel!
YouTube link LOL Surprise Cake by American Baker in Germany
Für die deutsche Version, klickt hier:
https://youtu.be/h005X7UKI-c


Comments
Post a Comment