This blog and cake were neither sponsored nor affiliated with the Disney Corporation. It qualifies as user generated content according to the definition in the Disney terms of use.
A friend of mine contacted me and asked me if I would be willing to make her daughter's birthday cake. She wants a doll cake. And she has the doll already. It's Belle from Beauty and the Beast. My answer? An unhesitating yes! I've been wanting to make a doll cake for months, but I hadn't had an excuse yet.
In case you didn't know, and most people don't, doll cakes are really tall. My friend measured the length of the doll from toes to waist and it was 7 inches tall. Most cake tiers are 2-3 inches tall. So, this one will be literally two or three times as tall as an average cake.
I baked two recipes of my vanilla cake in a half sphere pan and one 8 inch and one 7 inch pan. The sphere cake I cut into three layers and the two round layers I cut into two. That gave us a total of 7 layers of cake.
Here's the Belle doll my friend gave me to use in the cake.
I filled all seven layers with chocolate buttercream. I stacked the two 8 inch round layers first, then the two 7 inch layers and finally the three sphere layers. The height of the cake looked pretty good compared to the doll.
I carved the cake with a steak knife into a more skirt-like form.
I debated long and hard about how I would make the flounces on Belle's dress. They appear to be a string fed through the fabric at regular intervals and then pulled up to create those signature flounces. I eventually decided to carve little grooves into the cake that would allow the fondant to naturally rest in those grooves and then make the flounce texture with my texturing tools. First, I cut out a round piece of parchment paper and folded it into twelve reasonably evenly spaced sections. Using this as a template, I carved a notch all the way down the cake following this line.
The grooves weren't perfectly straight, but I felt like it created a bit of movement in the skirt.
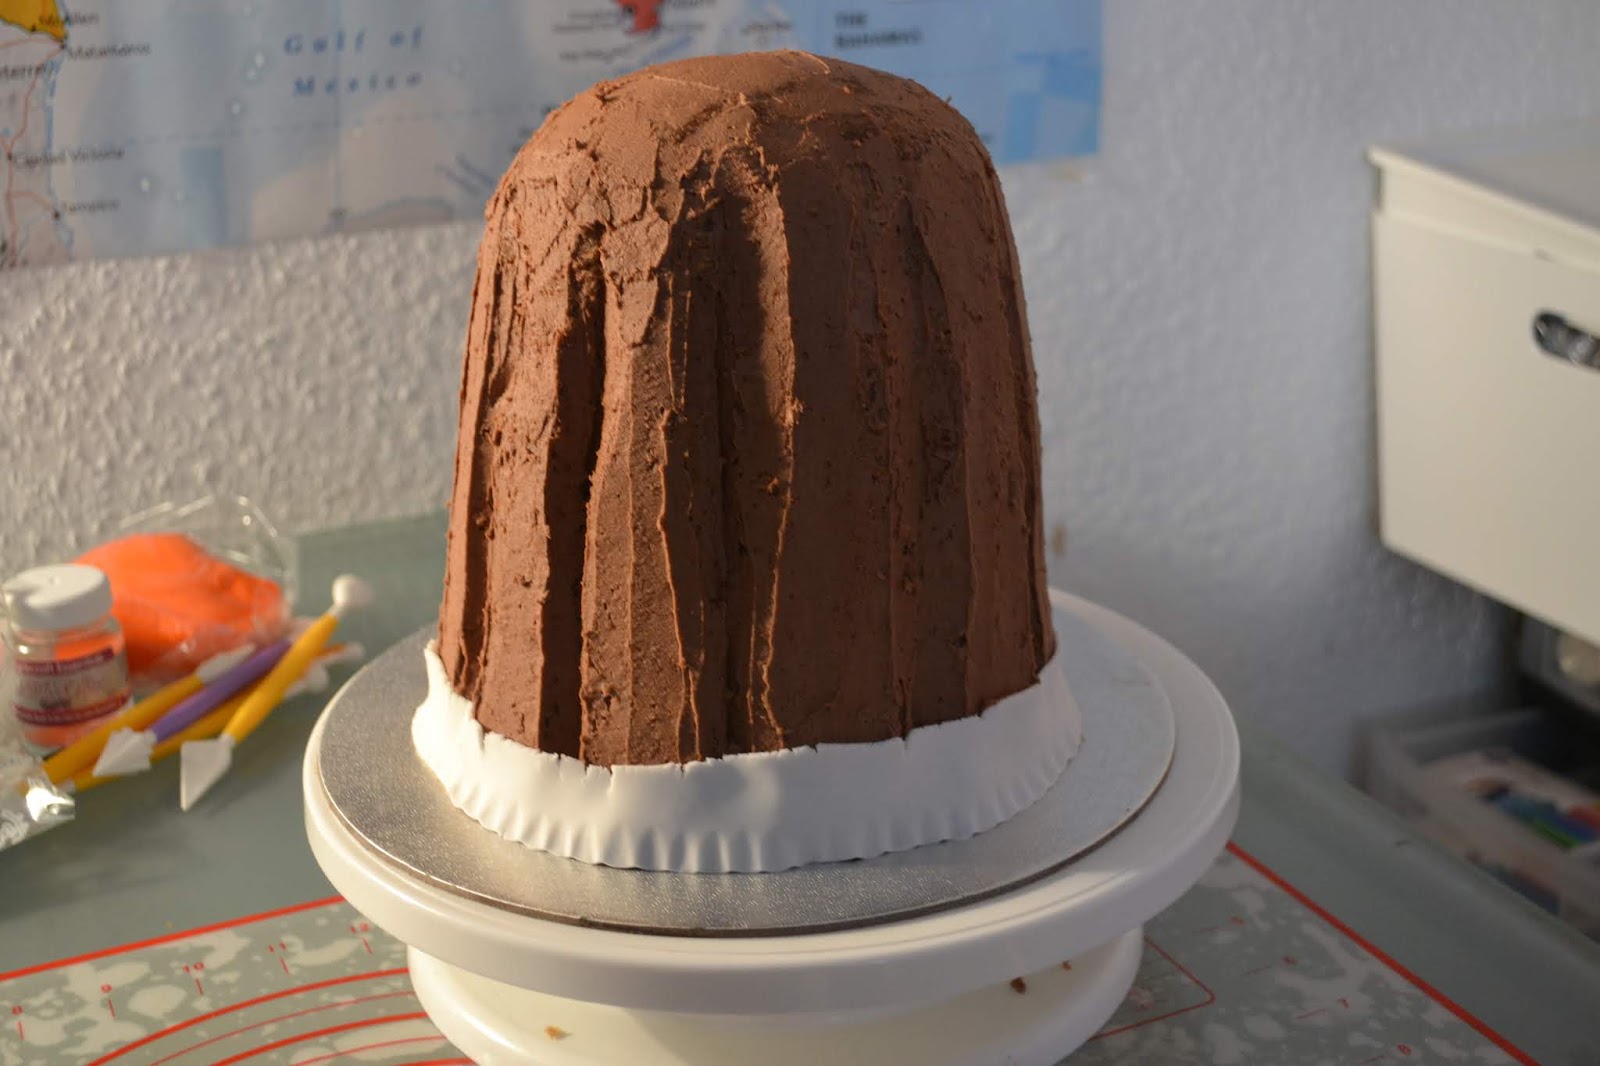
Then, icing the cake took forever. Why? Well, I started out throwing a bunch of chocolate buttercream on the cake and spreading it around. Then, I had to find the grooves that I just cut into the cake and emphasize them with my small off-set spatula. They weren't always easy to find. And remember there are twelve of them. A lot of work. And took probably four times longer to frost than a cake usually takes.
Then, using my tapered fondant tool, I make a strip of white ruffles to go along the bottom of the cake. I want them to be visible under the edge of the dress.
I kneaded some yellow fondant into more white and added extra yellow food coloring because I didn't have very much yellow fondant prepared. I rolled out just under a kilo of yellow fondant and used it to cover my very tall cake. I trimmed it just above the bottom to allow the ruffles to show through and ran my fingers into the grooves to make sure they were all visible.
Then, using my ball tool, I created the texture that makes the flounces look like flounces. Basically, from the lines in a v formation from both sides of the line. I loved the texture.
Then, I wrapped the doll's legs in plastic wrap to keep the doll as clean as possible.
Then I cut a guide hole in the cake, removing a bit, and pressed the doll into the cake. The doll naturally wanted to lean forward, so I had to lift it at one point and press it in at a better angle.
Next, I added a bit of orange fondant to my yellow and created the bodice. I rolled out a piece of yellow-orange really thin and cut one edge to be straight. Then I wrapped it around my doll, cutting a line up the back where the edges met. Then, I trimmed the bottom edge with the front coming to a point. Then I added a small snake of yellow-orange fondant to fill in the little gap I had left between the bodice and the skirt.
Then, using the same yellow-orange color, I created a sash. I glued it down at regular intervals with edible glue.
Finally, I added another light yellow sash around her shoulders, stuck it on with edible glue,
and added a handful of sugar pearls in silver and gold where the off-shoulder sleeves meet on the bodice
and around the peaks of the sash.
I think it looks very much like the original Belle dress from the movie Beauty and the Beast.
I'm really proud of this one and think it turned out really lovely.
Tale as old as time...
To watch the whole process on our YouTube channel, click here:
https://youtu.be/xQhiJaZUZug
Um das ganze Prozess auf unsere YouTube Sendung zu schauen, klickt hier:
https://youtu.be/T3Rq0t0iQ9A


Comments
Post a Comment