This post is neither supported nor affiliated with the Disney Corporation. It fulfills the requirements to be user generated content.
Being the mother of two girls, we own every possible princess movie ever made. I'm convinced. So, I decided I wanted to make a princess cake. But why stop at one? Let's do four princesses. I decided to make what I would consider the classic princesses: Snow White, Cinderella, Sleeping Beauty and Beauty and the Beast.
The first thing that I needed to do, was make the toppers and allow them to dry completely before using them. I made an apple and a red bow for Snow White. I made a red rose for Beauty and the Beast.
I made a crown for Sleeping Beauty and a glass slipper for Cinderella. The crown I painted with gold luster dust mixed with alcohol after it had dried completely. The glass slipper, I coated with white sanding sugar.
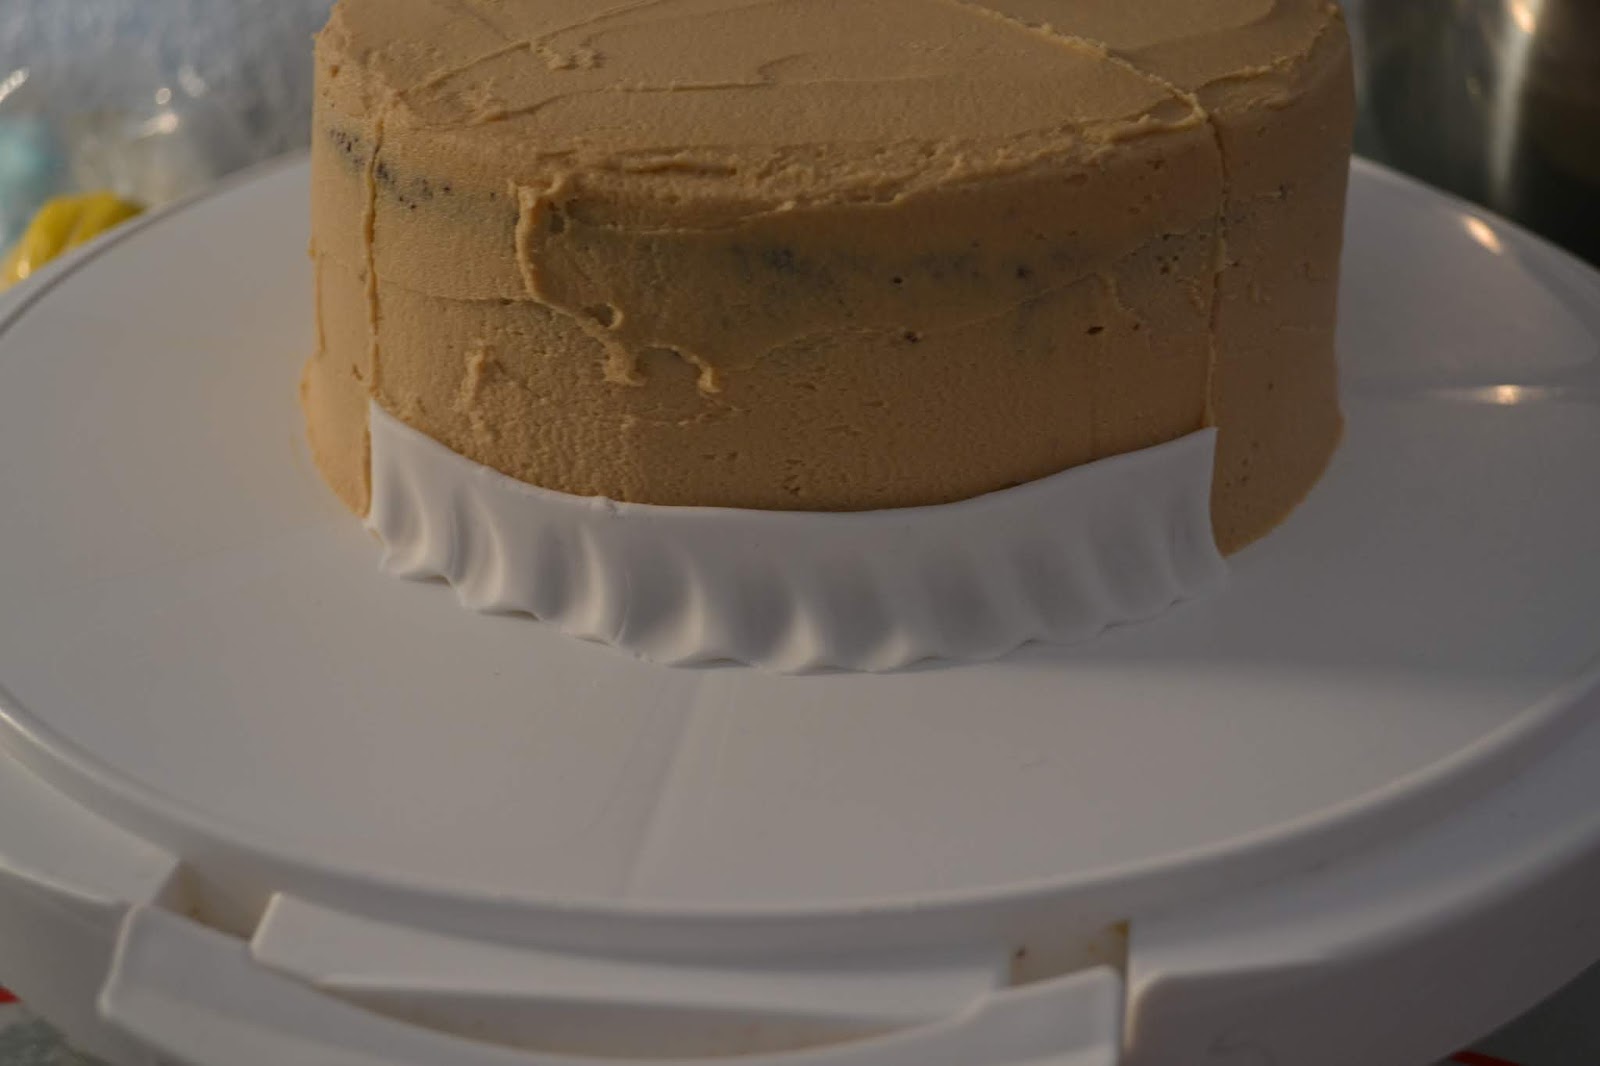
Then I frosted my six-inch round chocolate cake with cookie butter buttercream. I used my spatula to mark the cake into fourths, including down the sides.
On the bottom of the side of one of the fourths, I added a small, white ruffle.
On the middle of the side of another fourth, I added a band of red fondant.
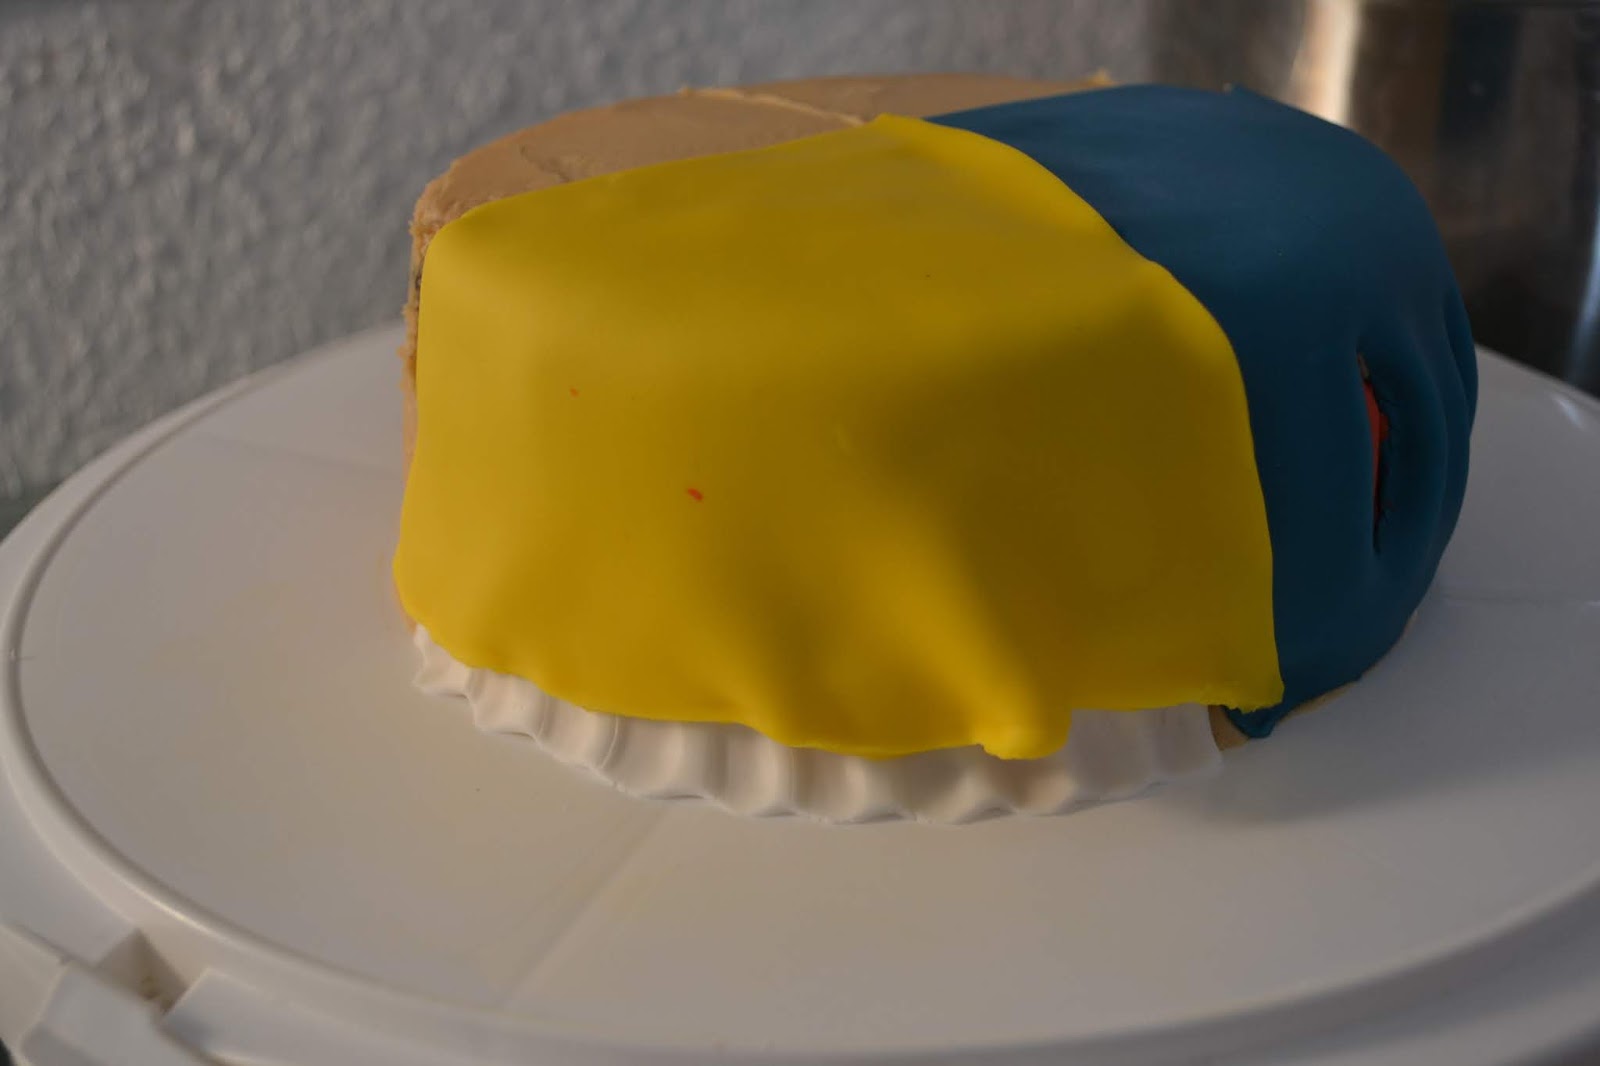
So first, I wanted to show you why. The quarter with the ruffles, I covered with yellow fondant, trimming it above the ruffles, so they would show.
The quarter with the red, I covered in dark blue fondant, tucking in the bottom, and cutting a slit in the blue fondant in a few spots to show the red between.
Then I covered another fourth in light blue fondant.
And another fourth with dark pink fondant, letting the bottom fall with motion to look like fabric.
You can see that the cake is clearly split into fourths.
Then I made some of the dress embellishments. I used yellow fondant, placing it over two paintbrushes and a straw to create the ripples in the swag.
Then I trimmed it, tucked the edges under, and stuck it onto the yellow quarter with edible glue to create two swags.
Then, I cut a piece of light blue fondant into almost a bow shape, narrower in the middle than the outsides. I tucked the sides under and stuck the whole thing onto the middle of the light blue quarter with edible glue. It was a little lopsided, but at this point, the best I could do.
Then I cut a piece of pink fondant into triangular lines and stuck it on the pink quarter with edible glue.
Lastly, I placed my toppers onto the appropriate quarter. The crown on the pink quarter.
The glass slipper on the light blue quarter.
The apple and red bow on the dark blue quarter.
And the red rose on the yellow quarter.
I think this was a really fun cake. Maybe a little bit more work than usual, but well worth it for the effect.
Pure magic.
Enchanting.
To watch the whole process on our YouTube channel, click here:
https://youtu.be/D57V5Bh853c
Um das ganze Prozess auf unsere YouTube Sendung zu schauen, klickt hier:
https://youtu.be/d1wsULaBy1c


Comments
Post a Comment