Pink and Cheetah Farewell Cake
This cake was for a family who was moving away. The family are good friends of mine and our daughters are very close friends as well. I knew I had to make them something special for when they were ready to leave. There is no preparation for saying goodbye to a close friend, but I started planning their cake maybe a month before their farewell party.
I knew them well enough to know that it's not an adventure that they're looking for. It's friendship and experiences. How do you represent that in a cake? I finally decided to include a whole bunch of aspects of them as people that I think of when I think of them. First thing I think of: the cat. I knew he had to have a place of pride right on the top of the cake. I even debated carving the cake to look like a cat, but eventually decided a topper was enough.
The colors of the cake had to represent them as well. A year and a half ago they had an epic princess party with a pink cake. The bottom layer, then, had to be pink. The top layer, I decided, should be cheetah pattern because I had had a long discussion with the mother about how to make a cheetah or leopard pattern on a cake. Yep, it had to be cheetah.
So, I started there. I made a cake board out of a piece of cardboard covered in aluminum foil the same size as the cake on my top tier.


 I then stacked the vanilla cake and filled and covered it with chocolate Swiss meringue buttercream. I made the buttercream by taking a recipe of my Swiss meringue buttercream and adding 200g melted dark chocolate.
 Then I colored some white fondant with some ivory food coloring as well as a bit of brown fondant. Then I rolled some black fondant into tiny sausages and curled them into random almost circles and pressed them into the fondant after I had rolled it out to about a quarter of an inch thick.
 Then I rolled the fondant out a bit more until it was about an eighth of an inch thick. It also helped the curls to stick to the fondant really well.
 Then I covered the smaller tier with it.
 I covered my gold cake board with plastic wrap, taping it to the back really well.
 Then I stacked my chocolate cake with cookie butter Swiss meringue buttercream. I made cookie butter buttercream by adding about 3/4 cup of cookie butter to a recipe of my Swiss meringue buttercream.
 Then I frosted the cake with the cookie butter buttercream as well.
 And I covered the tier in pink fondant.
 Then I inserted a few lengths of shashlik skewers to lend some stability and placed the cheetah tier on top of the pink tier.

 When it was time to decorate, I pulled out tons of decorating stuff. All the rainbow colors of fondant, plus black, several fondant press molds, a few flower cutters, rolling pins, fondant tools, paint brushes, edible glue, and food coloring.
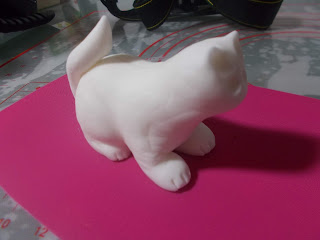
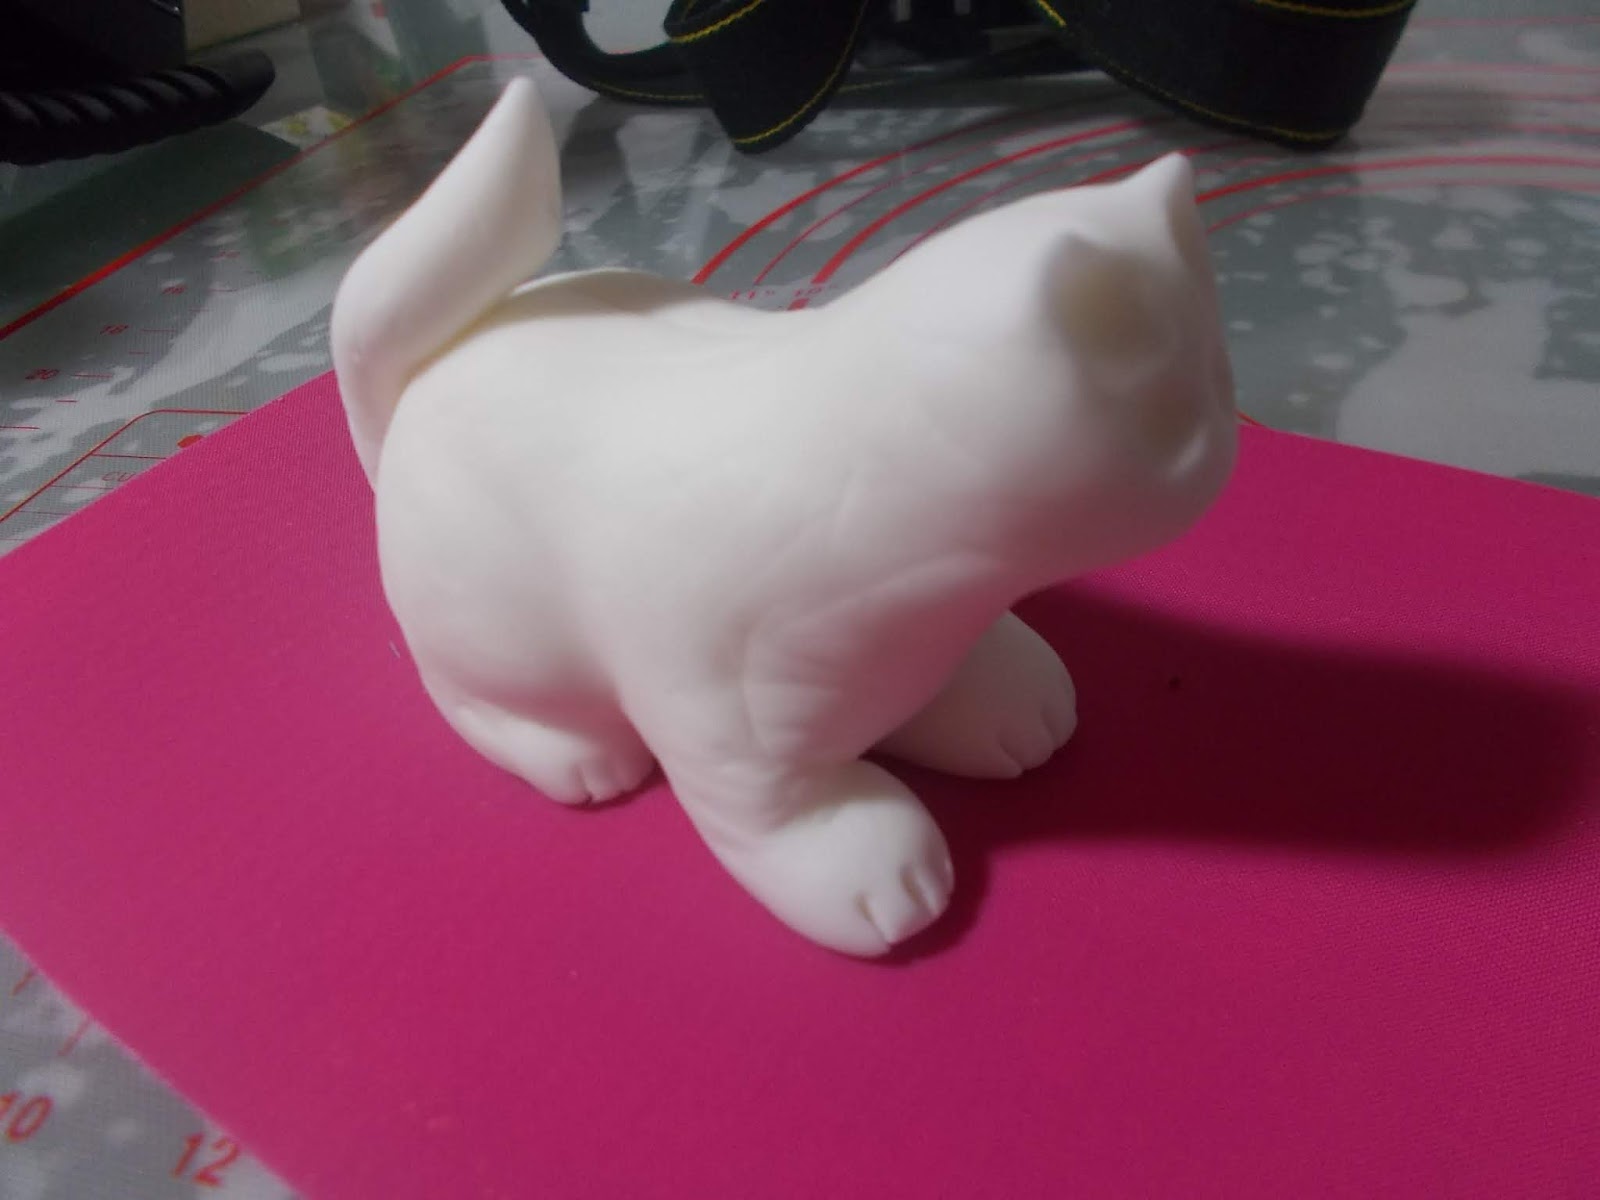
 The cat I molded freehand, using a picture of their cat for reference, and with the aid of my fondant tools. It was molded out of gumpaste. I let it dry two days, and it was still a bit pliable, so if I had it to do over again, I would have made it a little earlier, like a week in advance.
 But the day I made the cake, I started out making some eyes for the cat. According to my reference picture of their cat, he has green eyes. I rolled out some black fondant really thin and cut out some circles with a round piping tip. Then, using the same size piping tip, I added a small circle of pale green fondant on top of the black. I didn't have to mix this color, either, because I actually had a small package of chartreuse fondant that I hadn't ever used before.
 I pinched the sides of the eyes to be more eye-shaped and stuck them in the eye holes using edible glue.

 Then I rolled out a thin, tiny tube of tapered black fondant and glued them on the middle of the eyes, with the thickest part of the pupils facing up.

 Then I cut out a tiny triangle out of pink fondant and dented it with my fondant tools and stuck it on with a bit of edible glue.
 Then I painted the cat with brown and ivory food coloring mixed with clear alcohol. I loved how it turned out.
 Seriously, though. Considering I had never modelled a cat before in my life, with the exception that his feet were kind of chunky, it looked very similar to their actual cat.
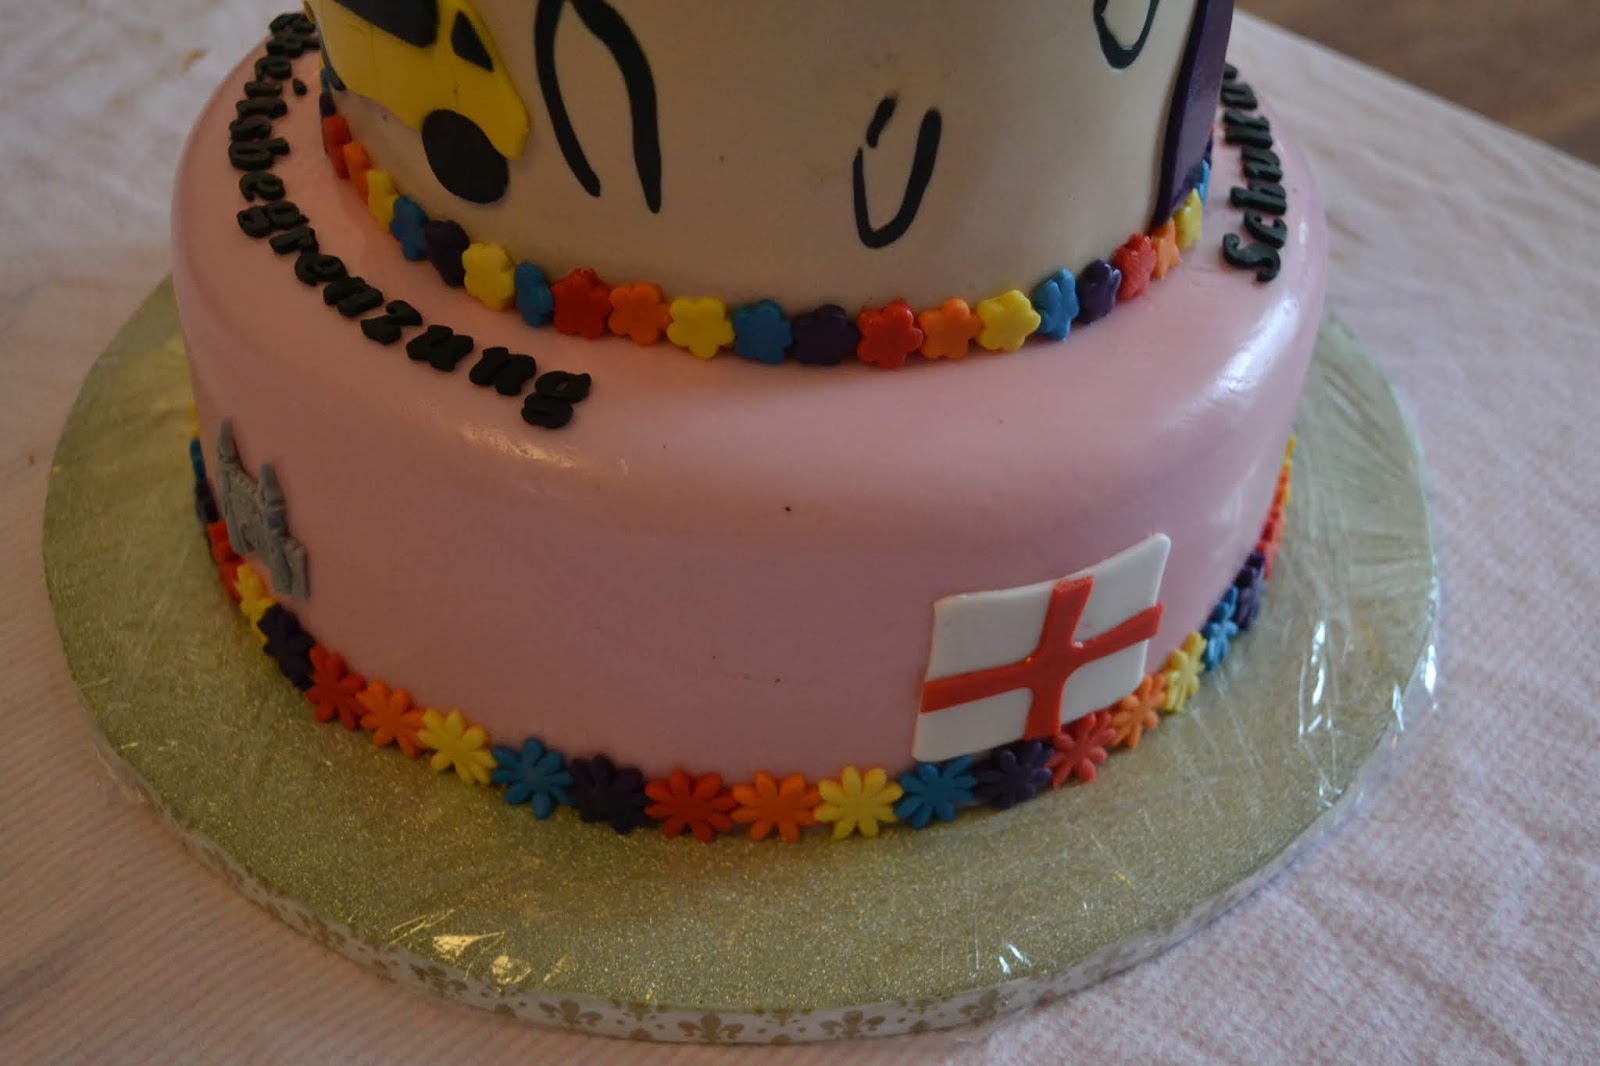
 So, using a lot of my decorating supplies, I made a bunch of decorations for the sides. I made the English and German flags, a tiny soccer ball, a castle, a jet, music notes, a yellow car, a purple surf board, a white finish line and the ridiculous German word: Geschwindigkeitsbegrenzung, which actually just means speed limit, but is one of their favorite German words because it's ridiculously long.
 Then I placed all my decorations around the cake.
 I also added the word Schultüte opposite the other. Their middle child started school while they were in Germany, and they had to get her a Schultüte, which is a long cardstock cone filled with treats that a child gets on their first day of school.

 I decided I needed something more on the contact point between tiers. I felt like there wasn't quite enough color. So, I cut out tiny flowers out of rainbow colors except green, because there aren't really any green flowers. These are two different sizes. There's the smallest daisy I had, and the smallest five-petal flower I had. I placed the daisies in rainbow order around the bottom tier and the five-petalled flower in rainbow order around the top tier. Lastly, I placed the cat on the top of the cake.
 This cake is such a mix up of different themes, that there's no one overarching theme, except the family that I made it for. On the other hand, that's almost what I like the most about it. It's so personal, that you could never mistake it for someone else's cake. It's as unique as the people I made it for.
 I really love how it turned out. It was very much like how I pictured it. The family I made it for really loved it. They understood almost everything without having to ask why it was on there. The only thing that wasn't clear was the finish line. It's basically just a white squiggle, so that needed some explanation. Otherwise, they immediately knew why everything else was there.
 Take care and best wishes, dear friends!


 To watch the whole process on our YouTube channel, click here: https://youtu.be/hE1es8LZE3c
Um das ganze Prozess auf YouTube anzuschauen, klickt hier: https://youtu.be/PxHaWbUvTzg
I knew them well enough to know that it's not an adventure that they're looking for. It's friendship and experiences. How do you represent that in a cake? I finally decided to include a whole bunch of aspects of them as people that I think of when I think of them. First thing I think of: the cat. I knew he had to have a place of pride right on the top of the cake. I even debated carving the cake to look like a cat, but eventually decided a topper was enough.
The colors of the cake had to represent them as well. A year and a half ago they had an epic princess party with a pink cake. The bottom layer, then, had to be pink. The top layer, I decided, should be cheetah pattern because I had had a long discussion with the mother about how to make a cheetah or leopard pattern on a cake. Yep, it had to be cheetah.
So, I started there. I made a cake board out of a piece of cardboard covered in aluminum foil the same size as the cake on my top tier.


Um das ganze Prozess auf YouTube anzuschauen, klickt hier: https://youtu.be/PxHaWbUvTzg


Comments
Post a Comment