Pink Ombre Rosette Valentine's Day Cake
I wanted to make this cake for Valentine's Day. And how lovely is pink ombre? I decided to make the cake pink ombre as well.
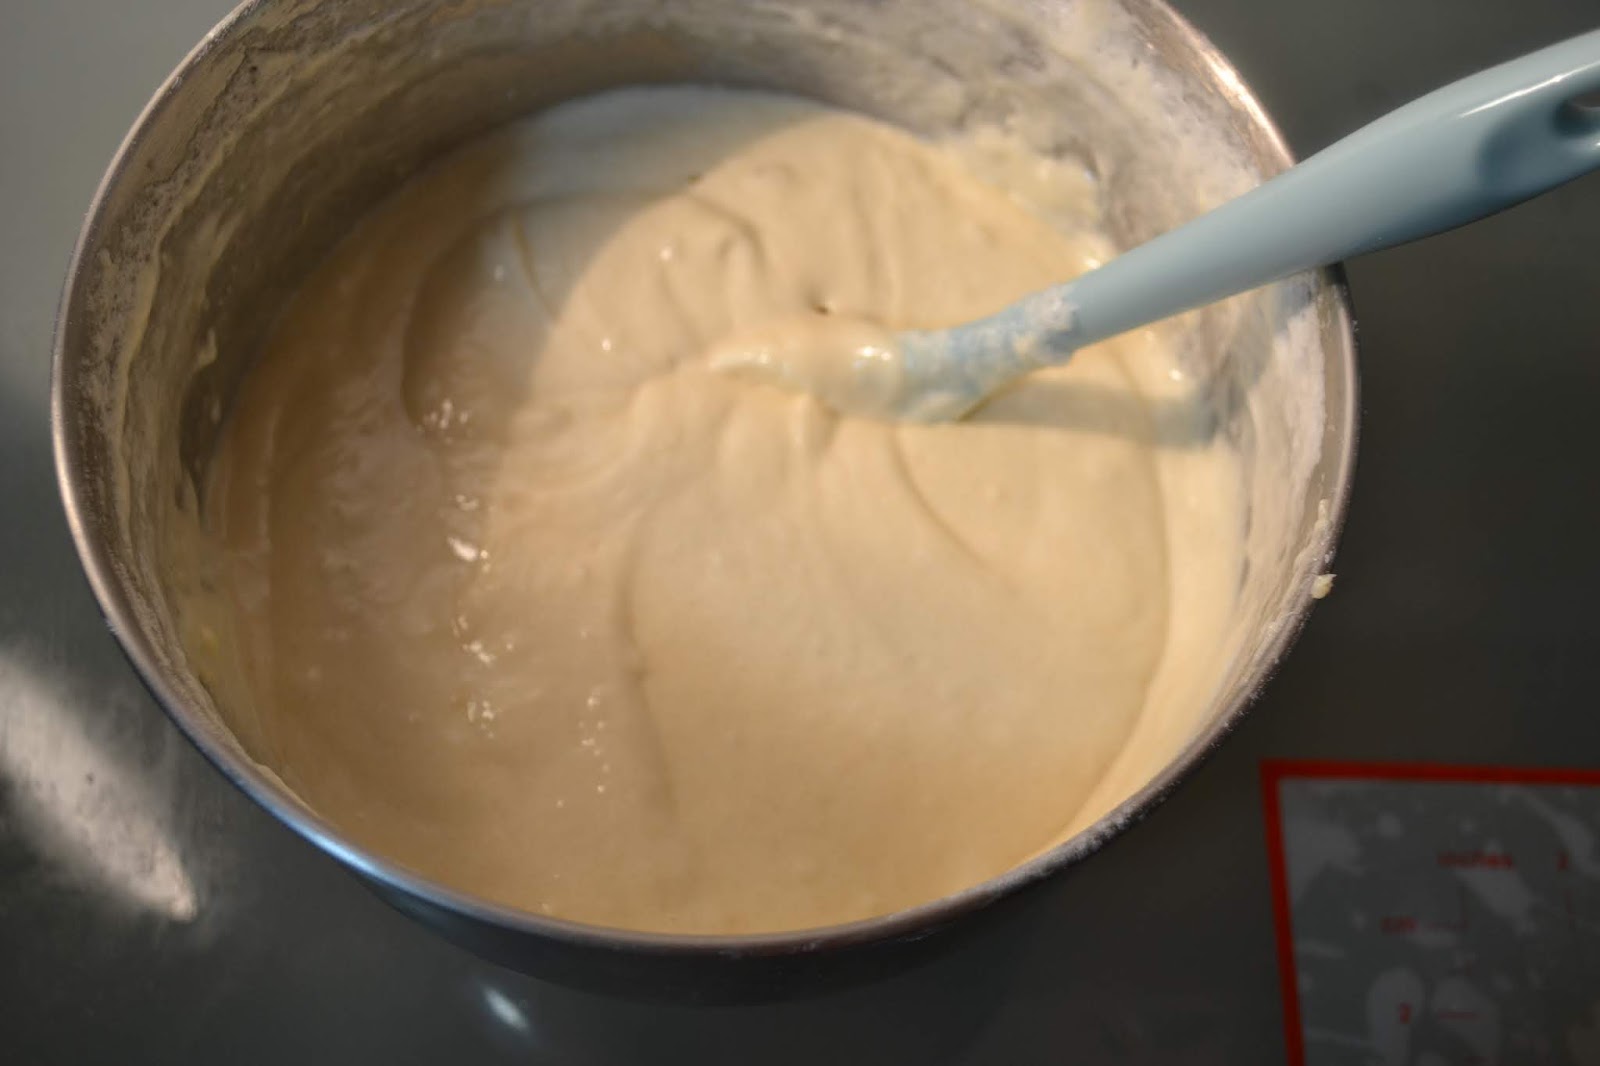
I started out with a recipe of vanilla cake.
 I separated it into four bowls as evenly as I could make it.
 Then I added one drop of pink gel food coloring to one bowl, two to another, then three and finally four. I felt like we went from a delicate pink, to a medium pink, to a dark pink to a ridiculously bright pink.
 I baked them in layer pans, which I find quite useful when baking many different colored layers.
 I poured the batter in different pans.
 Then I baked them at 350°F or 180°C for about 20 minutes.
 Then I removed them from their pans, trimmed the edges and leveled them. These didn't really need leveling because they were quite flat. I mostly did it to make sure I could tell which one was which color.
 Then I made one recipe of Swiss meringue buttercream.
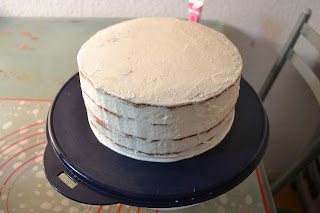
 I filled the cake with white buttercream.
 Then I crumb coated the cake with the buttercream as well.
 I separated it into several bowls and colored it just like the batter.
 I managed to get pink food coloring all over my hand in the process.
 I scraped as much buttercream out of the bowls as I could and added it to piping bags one at a time with a Wilton 1M tip. I was a bit nervous that I wouldn't have enough buttercream, but I decided just to try it out. I didn't have enough ingredients to make more.
 I piped dark pink rosettes around the bottom of the cake.
 But, I was right. There wasn't enough buttercream to go all the way around the cake.
 I decided to worry about it later. I washed the tip thoroughly and filled another piping bag with the next color pink.
 I continued the rosettes in the next row until I ran out of that color of buttercream.
 Then the next color.
 Finally, the last color should only cover the top, but since it's a larger area, I needed more than the other colors.
 I continued the ombre rosette pattern, avoiding the gap, until I ran out of that color as well.
 After debating a bit, I decided to cover the gap with fondant. I used a heart cutter and red fondant and two different shades of pink fondant.
 I overlapped the hearts on the side of the cake
 Then finished the top off with overlapping hearts as well.
 I love the rosettes. They're just so classically beautiful. Although they require a lot of buttercream.
 Adding the hearts kept the romance just as high.
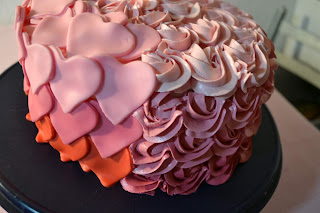 The ombre was really beautiful.
 Pure romance.
 Happy Valentine's Day.


 Isn't the ombre cake lovely?
 To watch the whole process on YouTube, click here: https://youtu.be/Xo9WMkjn8kA
Um den ganzen Prozess auf YouTube anzuschauen, hier klicken: https://youtu.be/WcA8065meNc
I started out with a recipe of vanilla cake.


Um den ganzen Prozess auf YouTube anzuschauen, hier klicken: https://youtu.be/WcA8065meNc


Comments
Post a Comment