Dragon Birthday Cake
This cake was one with a history. I made a dragon cake for this same friend's birthday the year before. So, let's begin with the one I had made before. The dragon was made of rice krispie treats and the cake was a ten-inch round chocolate cake filled with rainbow Swiss meringue buttercream. I was pretty happy with it. Although this was in my pure blogging days, so I don't have any video footage of it.
 My friend loved the cake. She said it was delicious. It was just what she wanted... there was just a bit too much of it. She would have preferred something smaller.
Hence, this year, I chose to make the dragon out of cake and skip the castle altogether.
I started out with two layers of 7-inch vegan chocolate cake and a batch of Swiss meringue buttercream.
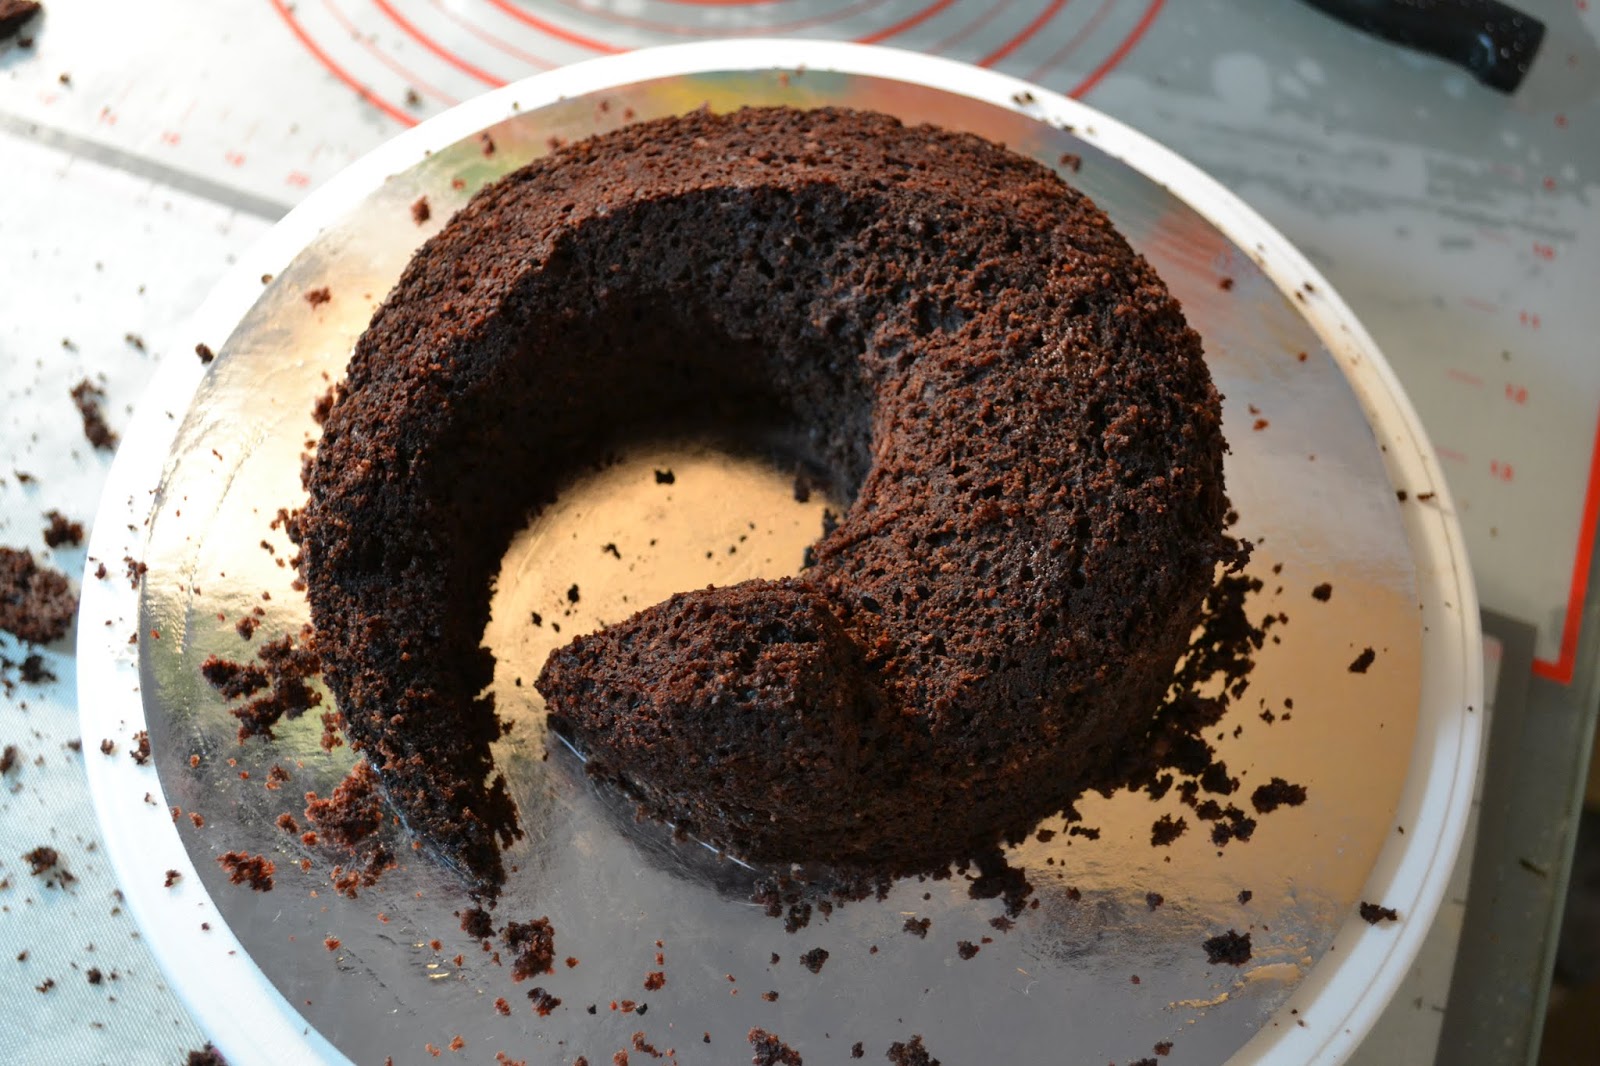
 I carved a general spiral into the cake.
 Then I hollowed out the spiral and created one pointed end.
 Then I began shaping it into a more organic looking shape using both layers stacked.
 I carved the shape of the dragon's head.
 And tapered the body and tail.
 Cleaned up my crumbs. Now, it was in the rough reptilian shape I was going for. I'll worry about the legs later.
 I put maybe two tablespoons of buttercream into six bowls.
 And colored them all the colors of the rainbow.
 Then I placed them into piping bags with no tip. I snipped the tip off the bags and piped a thick line of buttercream in rainbow order all over the middle of the cake to be a filling.
 I thought it looked pretty cool. I also placed a couple pieces of off-cuts of cake onto the dragon to be legs.


 In order to clean up the buttercream poking out the sides, though, it would need to be chilled. So, I chilled it in the fridge for about 20 minutes to allow the filling to set up.
 I had a pretty substantial chunk of cake left over from the center of the cake, though, and plenty of rainbow buttercream in the piping bags. So, I made a small rainbow cake for my husband out of the extra.

 I decided to make the dragon wings at this point as well. I melted some dark chocolate.
 And piped general wing shapes onto skewers.
 Then I frosted the cake in white buttercream.
 The first wings I made were rather large and did not want to set up. They eventually did after about two hours, but I was worried after half an hour, so I decided to make new ones out of black candy melts on skewers.
 I smoothed them out before letting them dry. But they dried within around 5 minutes.

 I also got out some warm colors. I had two different shades of red, orange and yellow-orange fondant. I laid them out in a striped ombre with the darkest color in the middle.
 Then I rolled it out as best I could. Unfortunately, my fondant was a touch dry. Every color.
 I had a really hard time covering this unusual shape with fondant. There was cracking, and separating and seams everywhere. The ombre only half worked with the seams I ended up with.
 So, I made a fondant paste with a bit of fondant mixed with clear alcohol.

I spread this paste on the cracks and the seams. It did help quite a bit, but it was also quite obvious. I'm not going to lie. At this point, I was feeling super discouraged and just wanted to give up. I thought I would just discard the footage and not show this ugly cake with anyone. But I knew the birthday girl deserved better. I had to make it into something I could give her. There wasn't time to start over completely.
 So, I set about saving it. I made some spikes out of red fondant and placed them along what would be his spine. I also gave him some facial features. A brow ridge and closed eyes.
 I used a round piping tip to create a scaly texture.
 At this point, I decided I could give it to my friend after all.
 The gap along the bottom of the cake bothered me, so I made a whole bunch of tiny gray circles meant to look like silver coins and placed it along the bottom of the cake and scattered them around the board as well.
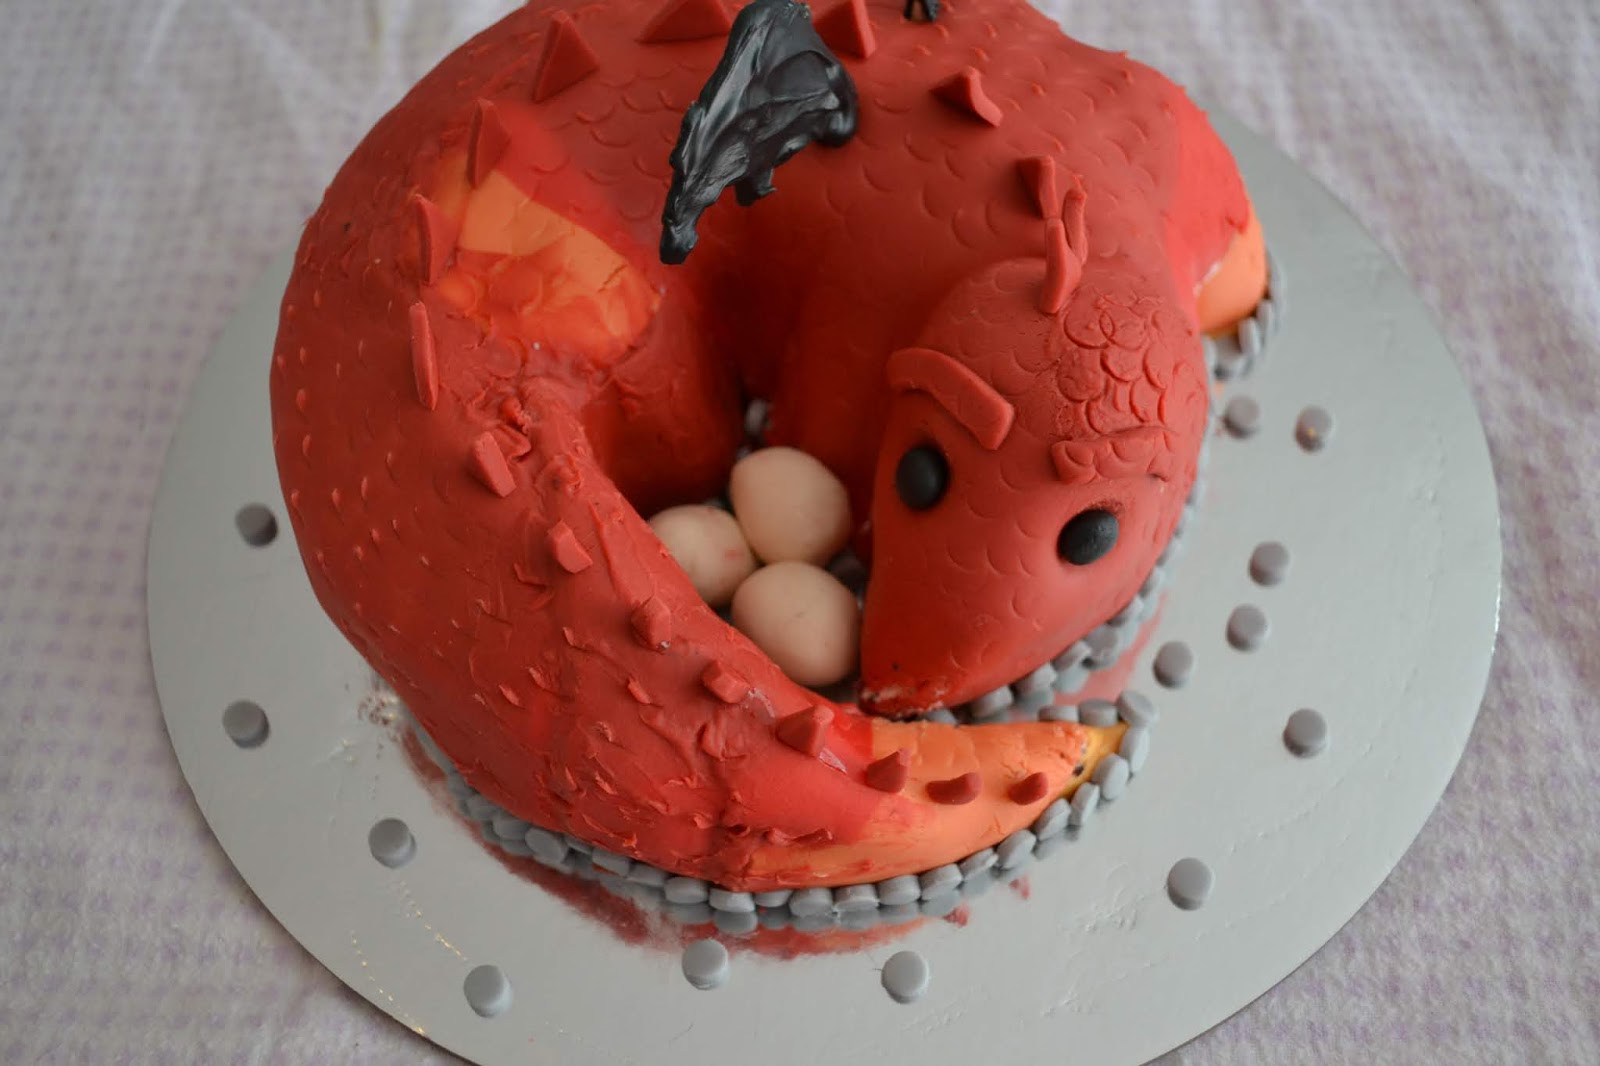
 The eyes bothered me. I thought they looked weird. So, I replaced them with black eyes. And my five-year-old asked me where the eggs were. So, I made a few rough eggs out of ivory fondant. I guess we can call the dragon a she now.
 Lastly, I put the wings into the dragon.
 Despite looking so bad in the middle I wanted to throw it away, I was pretty happy with how it turned out.
 I mean, it definitely looked like a dragon, guarding its eggs.
 It could have gone better, but the end result was cute.
 Happy Birthday, Lisa.


 Watch us make this monstrosity on our YouTube channel here: https://youtu.be/XVeSM2spyfk
Schaut zu, wie wir dieses Monster auf YouTube machen hier: https://youtu.be/NgK9M_rCFlU

Hence, this year, I chose to make the dragon out of cake and skip the castle altogether.
I started out with two layers of 7-inch vegan chocolate cake and a batch of Swiss meringue buttercream.


I spread this paste on the cracks and the seams. It did help quite a bit, but it was also quite obvious. I'm not going to lie. At this point, I was feeling super discouraged and just wanted to give up. I thought I would just discard the footage and not show this ugly cake with anyone. But I knew the birthday girl deserved better. I had to make it into something I could give her. There wasn't time to start over completely.


Schaut zu, wie wir dieses Monster auf YouTube machen hier: https://youtu.be/NgK9M_rCFlU


Comments
Post a Comment