Mermaid Birthday Cake
This cake was a commission. A friend of mine wanted a birthday cake for her 8-year-old granddaughter. The theme of her party was mermaids. There were 14 children coming to the party. And they would like marble cake. No other real direction.
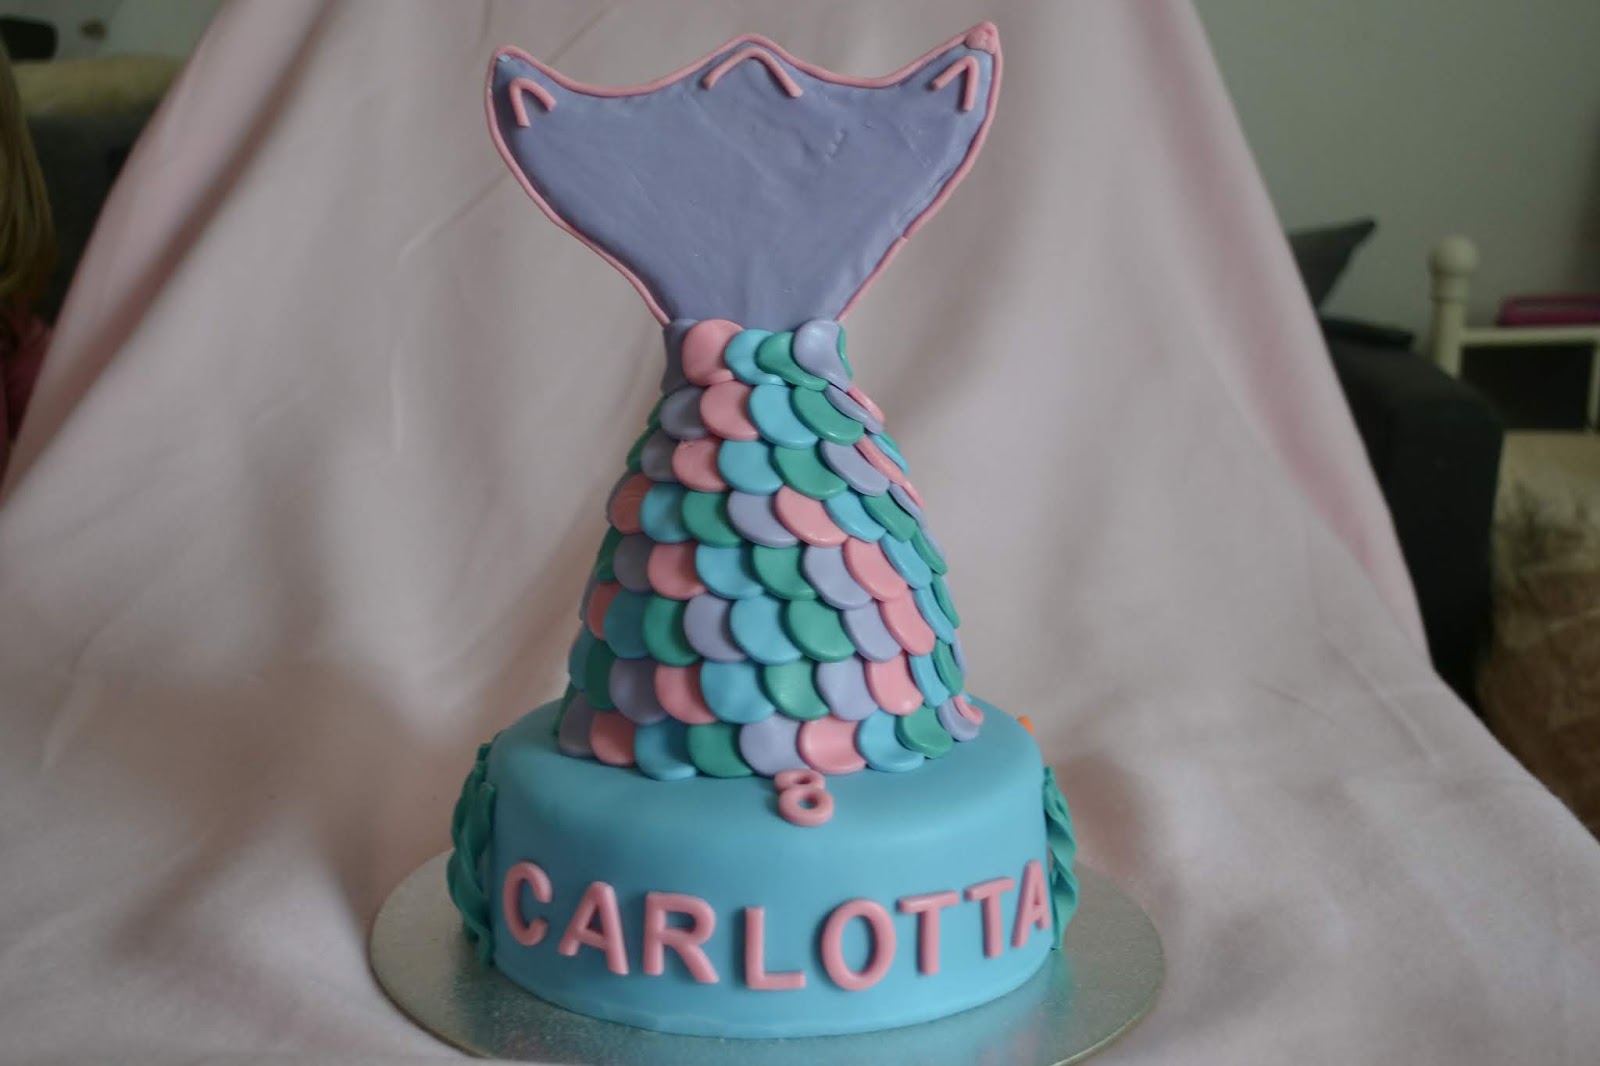
From the information I was given, I came up with this design.
 Then I was told the child's name is Carlotta.
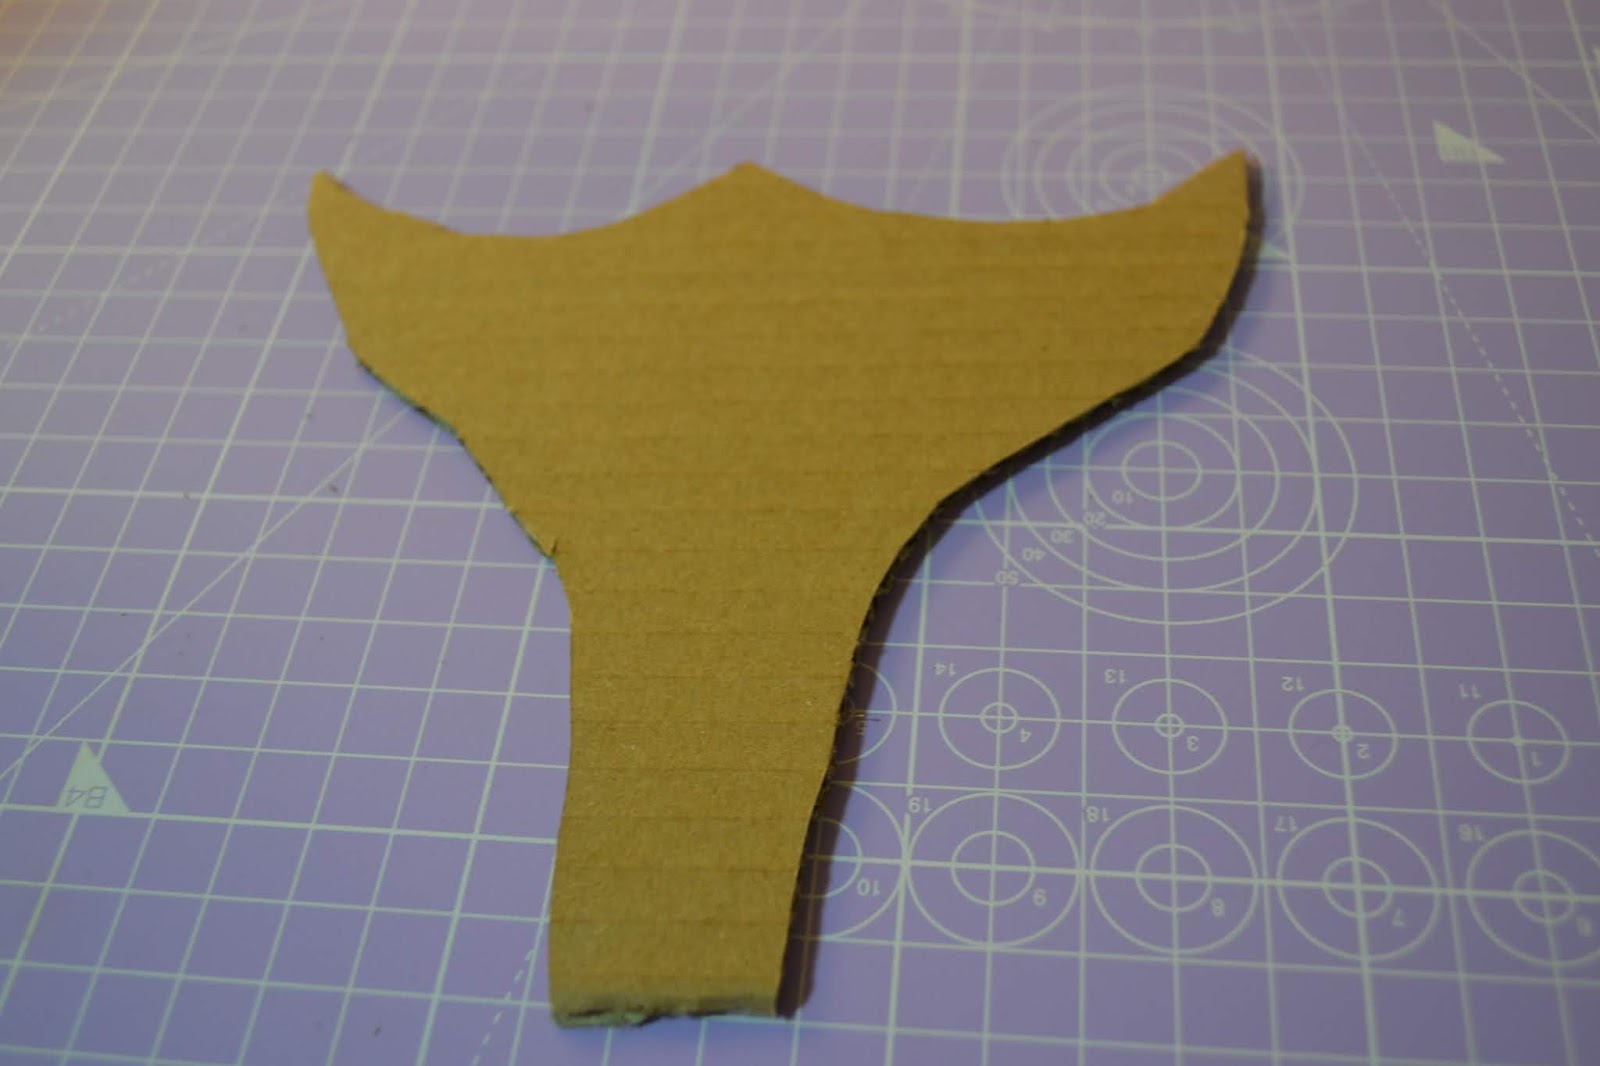
The first point was to make the mermaid tail. I decided to cover cardboard with fondant for the fin. I got out a cake pan the same size as the top tiers. It's a small 4-inch cake.
 I freehanded the cardboard with a box cutter.
 Then I cleaned up the edges and shortened the length of the tail so it wouldn't stick up off the cake too high. I also stuck a wooden skewer into the cardboard between the layers.
 Then I covered it with purple fondant on both sides of the cardboard, sticking it on with edible glue.
 The bottom layer stuck to the table and had to be pried off.
 Then I cleaned up the edges and pressed them together.
 I also smoothed the surface and sharpened the corners.
 Finally, I dusted it with a bit of blue luster dust. It was hard to see in photos, but it definitely added a shimmer.
 I propped it up with a cookie cutter cube and rested it against the wall to dry for several days.
 Then, the day before the cake was supposed to be picked up, I filled, stacked and frosted the cake. I had baked two layers of seven-inch marble cake and four layers of four-inch marble cake. I also made a four-inch round cake board with cardboard covered in tin foil. This cake is a two-tier, so it is essential to have a cake board.
 However, the top tier needs to be carved. I marked the top of the cake with a Russian piping tip so I wouldn't carve the top layer too small.
 The cake wasn't too difficult to carve. I created a kind of cone shape with a flat top. It leaned slightly to one side, but I found that made it look more fin-like.

 Then I crumb coated the cake with American buttercream and chilled it in the fridge.
 I also filled and stacked the seven-inch cake onto a good cake board.
 Then I covered the bottom tier with light blue fondant.
 I put four dowels into the bottom tier to help support the top tier and smeared some buttercream onto them to help the top tier to stick on.
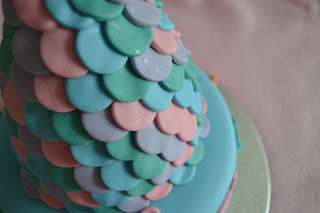
 I cut out a whole bunch of circles out of light blue, pink, lavender and teal fondant with the back of Wilton 1M piping tip.
 Then I laid them overlapping onto the tail tier covering the gap at the bottom of the tier. I laid them in order: teal, lavender, pink and light blue.
 Then I continued the scales up the tail.

 Just before I finished, I placed the fin of the tail into the cake.
 Then I covered the gap between the scales and the fin with more scales.
 After looking at the small space between the edge of the bottom tier and the top tier, I decided to place the name on the side of the bottom tier.
 Then I placed the number 8 on the top of the bottom tier.
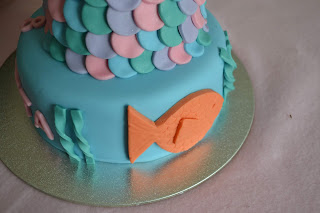
 Around the side of the bottom tier I placed an orange fish, yellow coral and green seaweed.
 I made the seaweed by cutting strips of teal fondant and twisting them in one direction and gluing them onto the side of the cake with edible glue.
 I made the coral by pinching the yellow fondant in random places and pushed the end of a paintbrush through it to make holes.
 The fish I made with thick orange fondant, textured the tail with the end of a paintbrush, made a dent with the end of a paintbrush, made the mouth with the back of a knife, the scale texture with a round piping tip, the side fin with a triangle of fondant with one point cut off and texture with the end of a paintbrush.
 I really love how this cake turned out. It's perfect for a small girl's birthday party.
 Those colors are just so feminine and mermaid appropriate.
 The accents of sea life around the bottom tier really bring it all into focus.
 And how stately is this cake? It's tall without being huge.
 Happy Birthday, Carlotta!


Shortly after finishing the cake, I accidentally knocked off the corner of the tail fin because it was too tall to fit in the fridge. It almost fit. Consequently, I decided I had to repair the tail fin.
 I used my clay extruder to extrude a few strings of pink fondant and glued them down to the edge of the fin with edible glue. I also made a couple of little wave motions on the tail to cover up a few other imperfections. I was much happier with it at this point.
 I mean, how gorgeous is this?

 Watch the whole process on our YouTube channel here: https://youtu.be/3KoalfMMk2k
Schaut den ganzen Prozess auf unserem YouTube Kanal hier an: https://youtu.be/rLrV7MePjMU
From the information I was given, I came up with this design.

The first point was to make the mermaid tail. I decided to cover cardboard with fondant for the fin. I got out a cake pan the same size as the top tiers. It's a small 4-inch cake.


Schaut den ganzen Prozess auf unserem YouTube Kanal hier an: https://youtu.be/rLrV7MePjMU


Comments
Post a Comment