Minnie Mouse Clubhouse Birthday Cake
This cake is for my own daughter's third birthday. She absolutely loves Minnie Mouse. So, I promised her another Minnie Mouse themed birthday party. I let her look at probably a hundred photos of Minnie Mouse cakes and she just kept coming back to one that she seemed to like more than the others. So, getting inspiration from them, I decided to make a Minnie Mouse Clubhouse cake.
I know at least one person is going to point this out, so I'll just say right now, I know it's actually Mickey Mouse Clubhouse. I'm going to use a few different colors to recreate Mickey Mouse Clubhouse into Minnie Mouse Clubhouse.
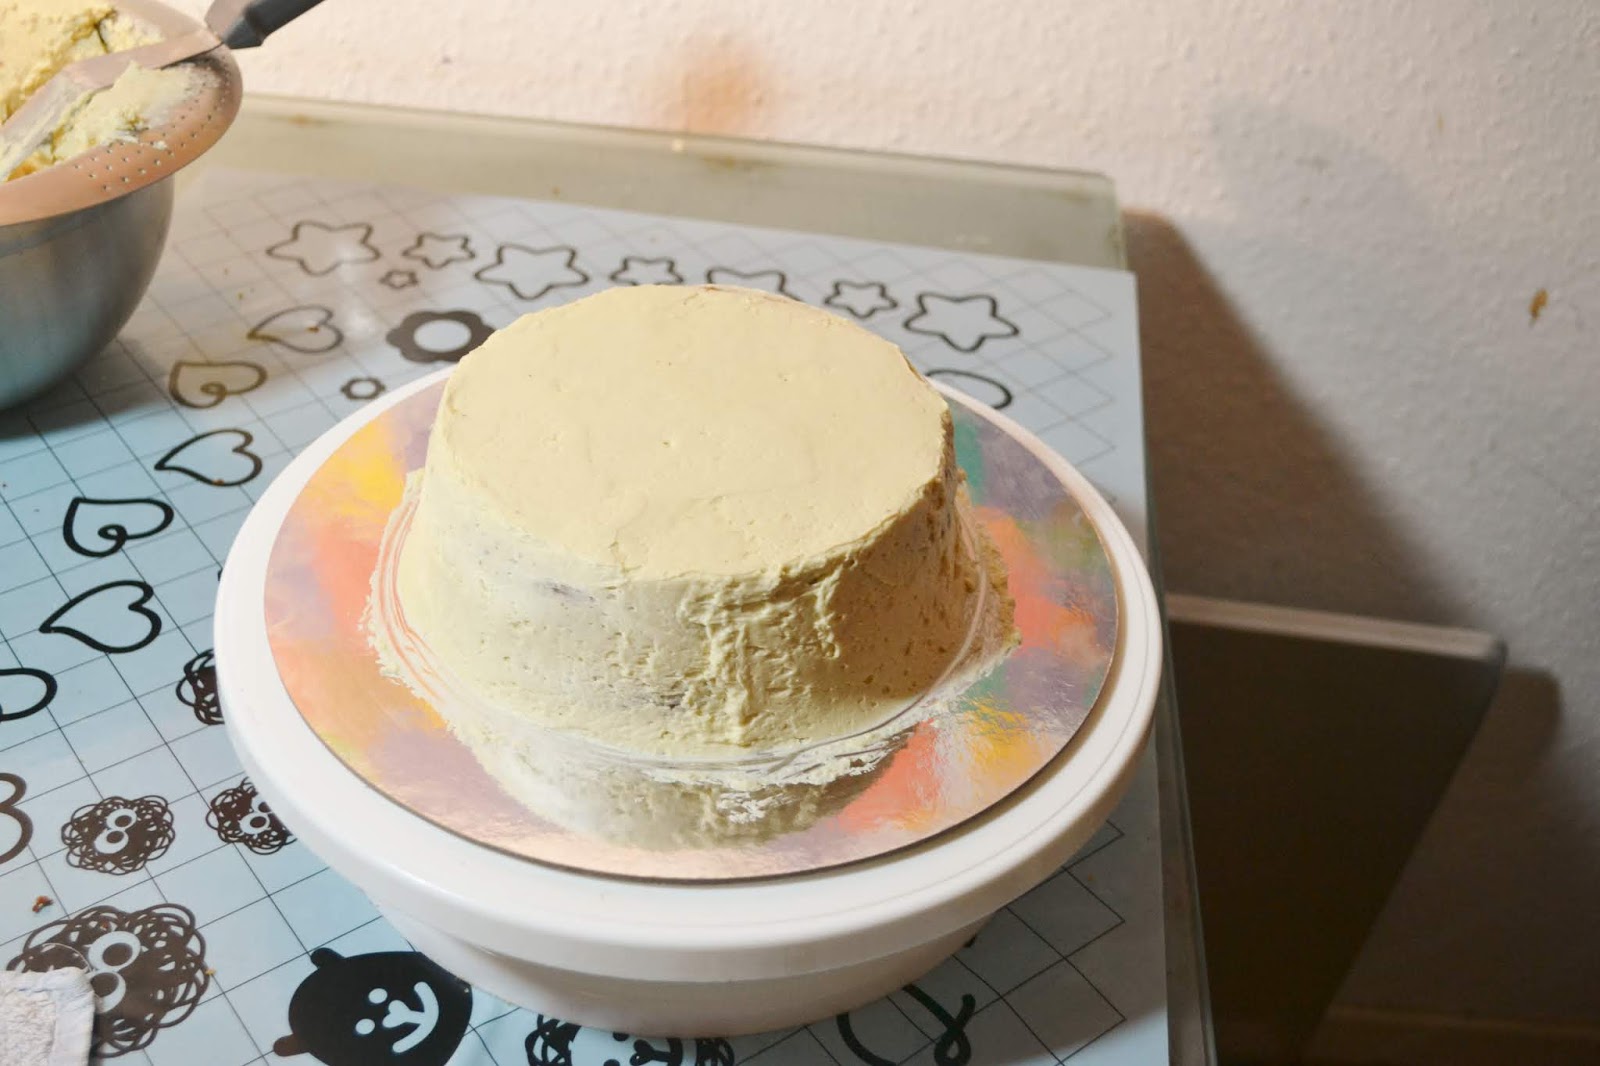
I started with cake. This is peanut butter cake and brown sugar Swiss meringue buttercream. I wanted to make two tiers, but not a huge cake, so this is 6 and 4 inch cake.
 I stacked and crumb-coated the bottom tier.
 And the top tier on top of a four-inch cake board.
 Then I frosted the bottom tier again.
 And the top tier.
 I made some pink fondant with white and a pinch of red.
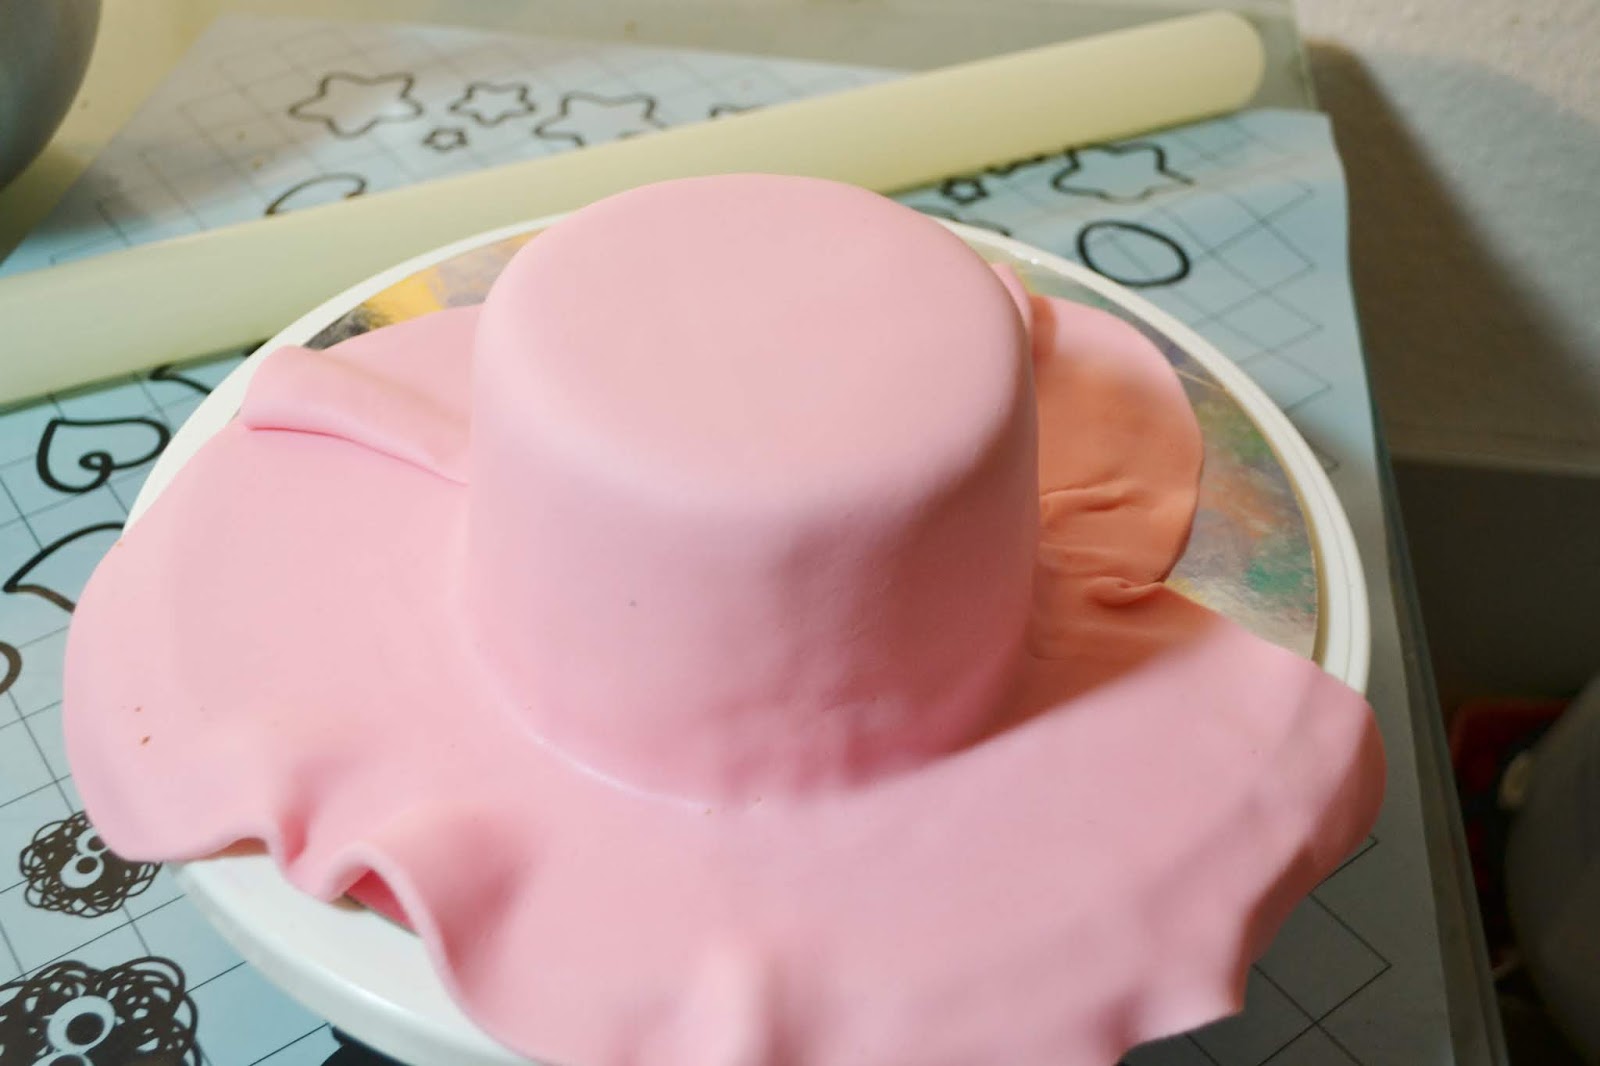
 I rolled it out and covered the top tier with pink.
 I cut off the excess with a sharp knife.
 The bottom tier gave me some trouble when frosting it, so I frosted it one more time.
 I mixed some very pale blue with some medium blue fondant.
 I rolled it out and covered the bottom tier with it.
 Then I placed a few wooden dowels into the bottom tier to support the top tier.
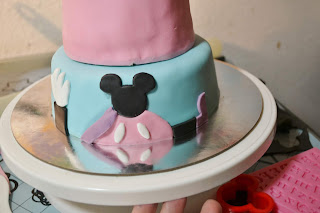
 I placed the top tier on top and rolled out some pink fondant and cut out a half circle and placed it on the cake. Then I cut a small arc of circle out of the top.
 Then I rolled out some black fondant and used a small Mickey Mouse cutter to cut out the shape of the head.
 I put the black Mickey Mouse head onto the top of the half circle. I also placed a black strip on one side vertical and one on the other side horizontal.
 I rolled out some white and cut it into a hand shape and placed it on the vertical black stripe to be the glove balloon. Then I cut some thin ovals to be the windows. I also cut out a strip of purple fondant and laid it on one side of the clubhouse.
 And a piece of purple in the shape of a shoe and put it at the end of the horizontal stripe.
 Finally, I placed a bow on the top of the head.
 But I'm not done with the cake yet. I used a fondant press mold to shape the letters to spell the name Natalie.
 I turned the letters out of the form and laid them together.
 Then I laid them on top of the cake.
 I used my Disney cutters to cut out the number 3 and placed it on top of the cake.
 Then I pressed a tool into the side of the cake at regular intervals to mark where the polka dots should go.
 Then I cut out some white circles and placed them over my marks.
 Then I placed a strip of pink fondant at the bottom of the top tier.
 Then I made a pink fondant bow

 And placed it where the pink strip met itself.
 Then I cut out some Mickey Mouse heads out of white fondant.
 And placed them around the bottom tier.
 And of course placed pink bows on them.
 Finally, I painted the windows of the clubhouse with black food coloring as well as a few lines on the glove balloon.
 I am in love with this cake.
 It was exactly what I wanted to give my daughter for her third birthday.
 Different from last year, but just as special and just as authentic Minnie Mouse.
 I love all the details. The tiny bows, the polka dots, what's not to love?
 Happy Birthday, Natalie!


 Of course, the cake looked even better with the Mickey Mouse Clubhouse figures on it!


 Natalie loved it.
 Watch us make this whole cake on YouTube here: https://youtu.be/IfaG_OLvFOg
Schaut zu wie wir diese ganze Torte auf YouTube machen hier:https://youtu.be/NF7ixdXgtyA
I know at least one person is going to point this out, so I'll just say right now, I know it's actually Mickey Mouse Clubhouse. I'm going to use a few different colors to recreate Mickey Mouse Clubhouse into Minnie Mouse Clubhouse.
I started with cake. This is peanut butter cake and brown sugar Swiss meringue buttercream. I wanted to make two tiers, but not a huge cake, so this is 6 and 4 inch cake.


Schaut zu wie wir diese ganze Torte auf YouTube machen hier:https://youtu.be/NF7ixdXgtyA


Comments
Post a Comment